This post may contain affiliate links. As a Sheet Music Plus and Amazon Associate, I earn from qualifying purchases. That means I make a small commission (at no additional cost to you) if you purchase something from an affiliate link.
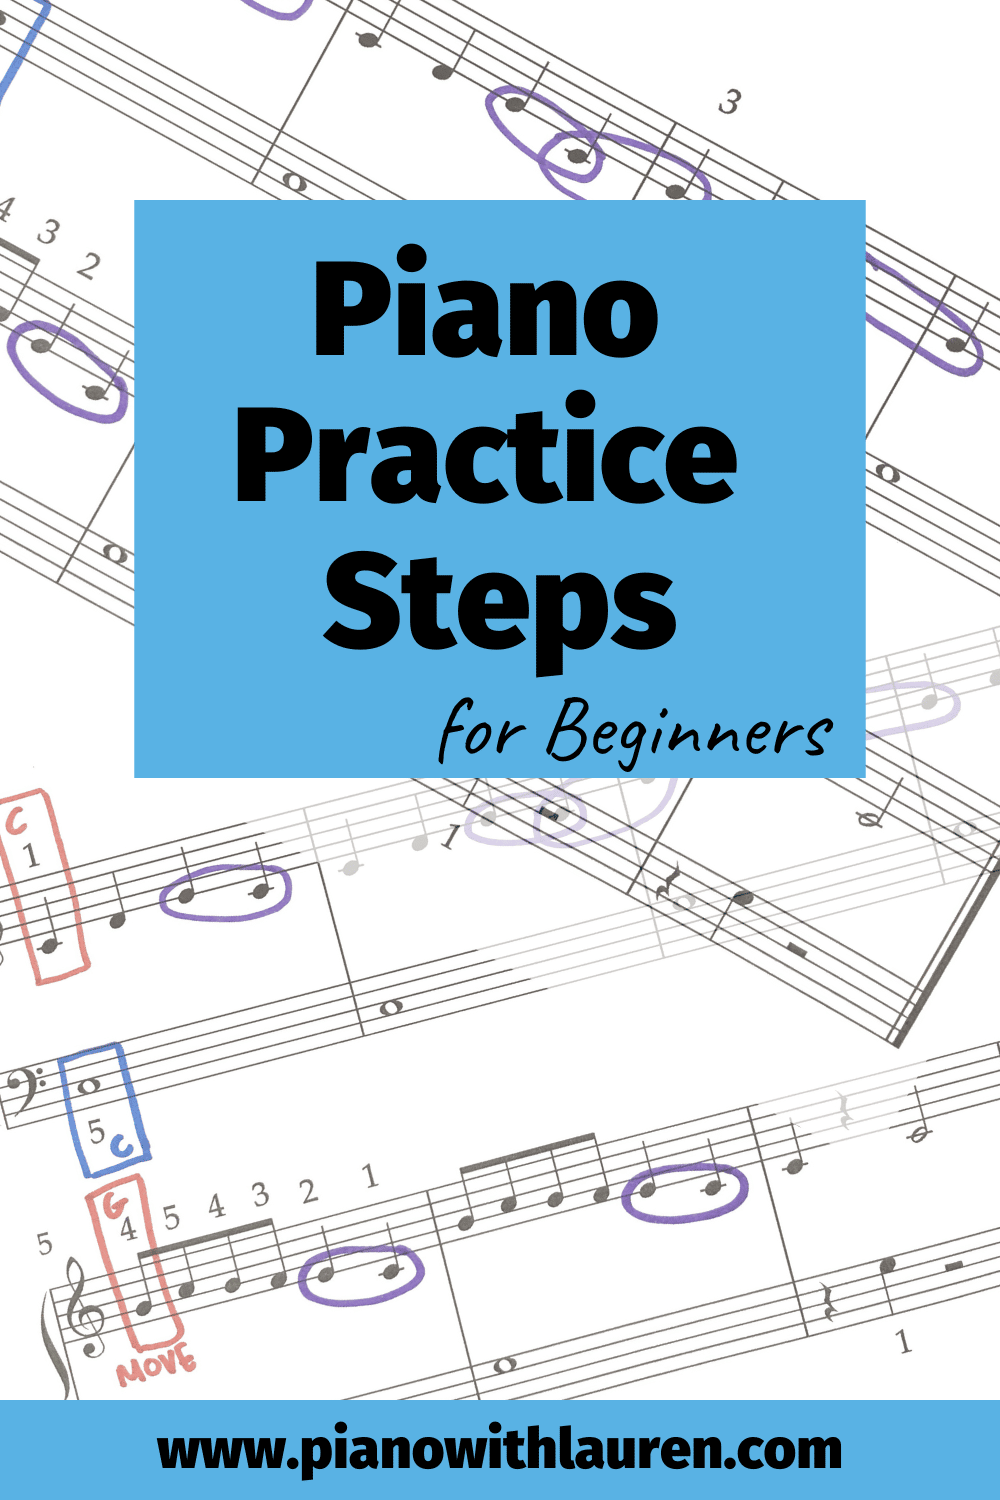
In this post, I’m going to show you six piano practice steps for beginners. With the right practice steps, we can show students *how* to practice, rather than just playing a piece beginning to end. I’ll then follow up with a specific example using the music “Are You Sleeping?”.
As teachers, our student’s success often depends on how we break down a piece into achievable practice steps. With the right practice steps, you can secure musical elements like steady rhythm and notes. Giving a student specific practice steps will also give your student confidence in learning music throughout their lessons.
1. Play the piece for the student.
Playing for students is when we can spark their interest and get them excited to learn something new. It helps a student know what to expect if he can hear the piece before starting it. If you play for your student, be sure to play at a realistic tempo for your student. If you play something too fast, it will intimidate the student.
2. Before notes, establish rhythm.
Before you even attempt to play notes, spend some time learning the rhythm.
- Tap the rhythm of the right hand. Make sure the student is actually using the correct hand to tap.
- Tap the rhythm of the left hand.
- Was there a tricky part? Tap just that measure. You can tap it one time for the student and then have the student tap it after you. You can do this until the student gets it right. Now tap the measures before and after the problem spot.
- Tap the rhythm of both hands together.
- Play the piece for the student and have him tap the rhythm while you play.
For rhythm practice, I close the piano and have have students tap on the fallboard or their leg.
3. Label the first note in each hand.
Have you ever had a student come back to his lesson the following week and say, “I didn’t know where to put my hands.” We need to make sure the student can find his starting position before going home. Label the first right hand and left hand notes so that the student knows how to find his hand position at home. After the student can put his hands in position, have him take his hands off the piano again and find the position on his own.
4. Study the intervals.
For beginning students, it’s important to locate steps and skips in the music. At this time, have the student circle any skips in their music. I usually circle one skip and have the student find the rest. Over time, the student won’t need the circled intervals. His eye will begin to recognize intervals like skips without needing to circle them.
5. Play the notes.
For beginners, it is often helpful to practice each hand alone first. Security of the notes and rhythm in each hand will facilitate hands together playing. I know this step can be debatable. I have heard of teachers who do no hands separate practice, because they want their students to be able to sight read hands together. But I feel hands separate practice is necessary! Even in advanced music, you would spend time working out issues in each hand.
If you want your students to be able to sight read hands together, you can allot extra practice for this with other music.
6. Give tricky spots extra attention.
Experienced teachers know that students love to glide right past problem areas. Find a tricky spot and single it out from other measures. Assign a separate practice step so that students spend extra time on this spot.
Practice Example
Now I’m going to show you how I use those 6 piano practice steps for beginners. Below, I’ll show you how I would practice “Are You Sleeping?” with a student.
- Play “Are You Sleeping?” for the student.
- Tap the rhythm of each hand.
- For the right hand, the rhythm in measures 5 and 6 might cause problems. I will tap measure 5 for the student and have him tap it back to me. We will do this a few times until it’s secure. Then we’ll tap the right hand of measures 4-6.
- I will also have the student tap the rhythm of the left hand, hands together, and while I play it on the piano.
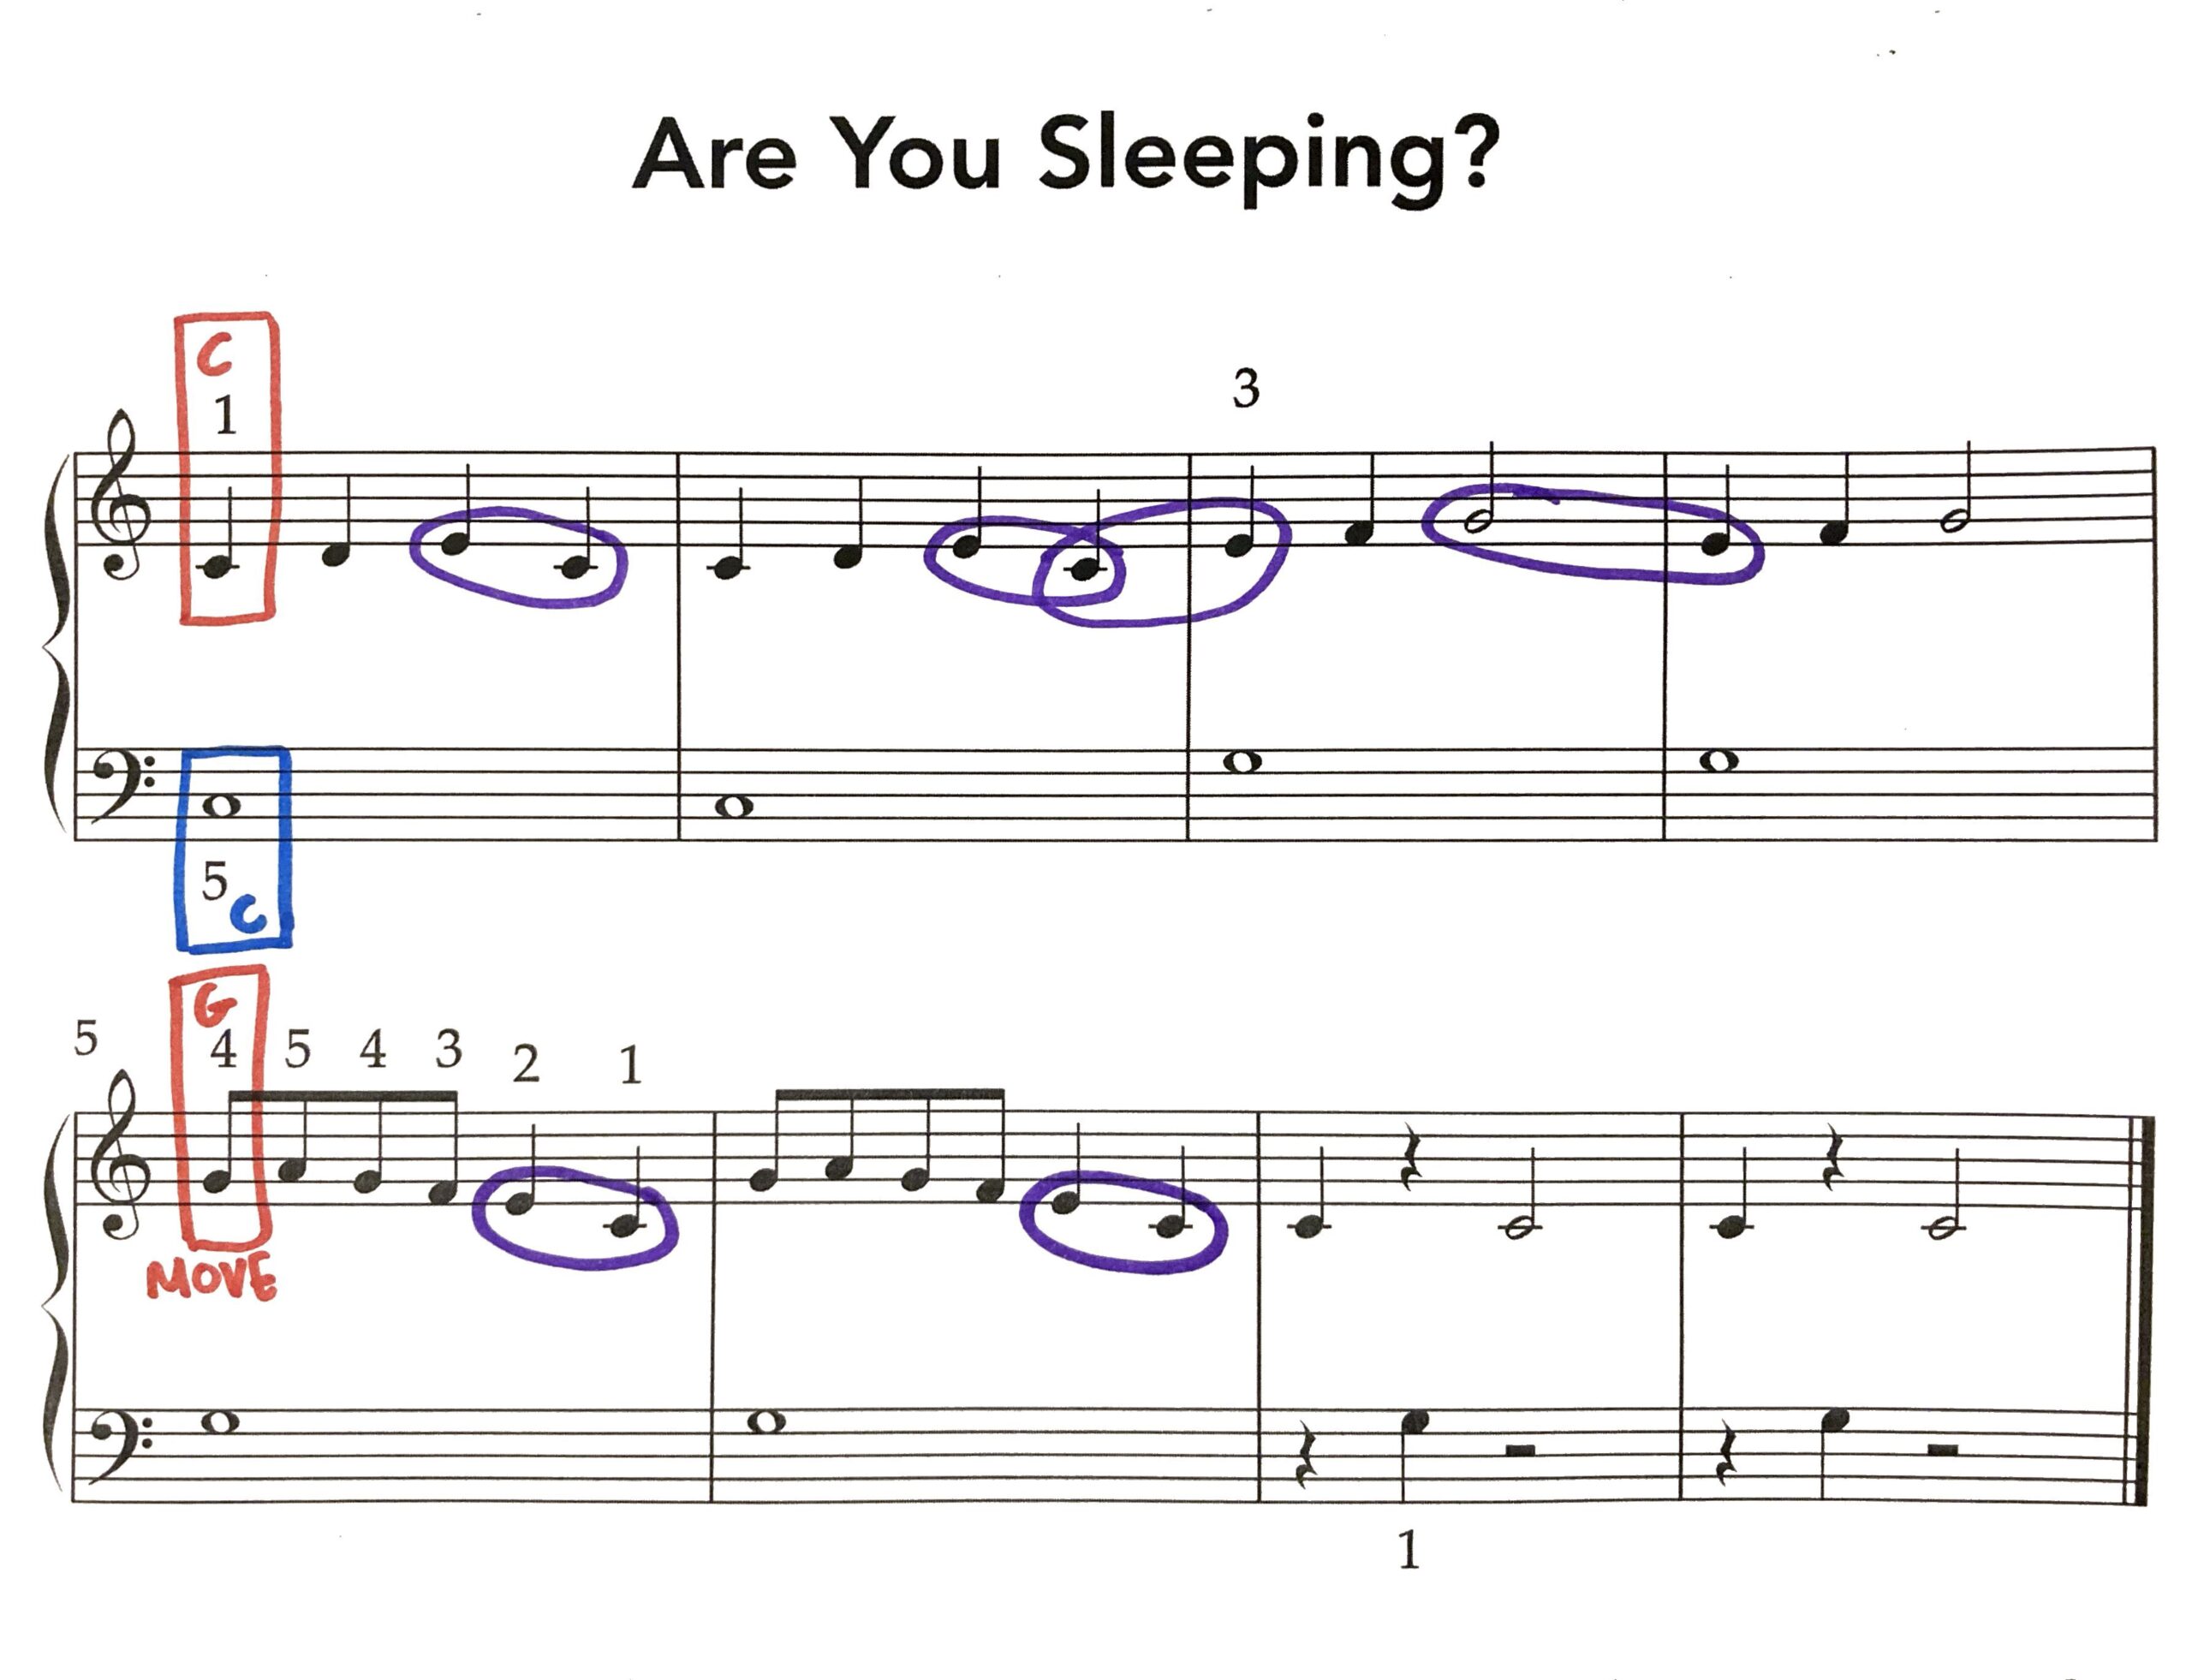
- Label the starting note of each hand. This piece has a special spot where the student will move at measure 5. Be sure to label that spot as well.
- Label the intervals. I will find one skip for the student and then I will have him circle the others. I will tell him there are five more skips to find. (Students love when you make it into a little game!) For the skip in measure 5, I will show the student how they will move their thumb over to C.
- We will play each hand separately. Once each hand is secure, I will have the student play it hands together. My goal would be to have the student playing hands together before going home.
- I expect that the right hand in measures 5 and 6 will need a little extra attention. I will tell the student to play those measures at home 7 times in a row every time he practices.
In the picture below, you can see how my student’s music would look after we’ve labelled it. When labelling my students’ music, I often use consistent colors for various elements. You can see how I used red for treble clef, blue for bass clef, and purple for skips. You can download a free guide for that here.
Do you have a favorite piano practice step for beginners that you use? Be sure to leave a comment below!

Lauren teaches piano to students of all ages. She enjoys creating resources for her students and teachers. She is the author of Ready for Theory®. For personalized help, check out the consultations page for teachers.


This is great information! I’ve been teaching for many years but it’s always helpful to hear how other teachers work with beginning students. I love the idea of tapping the RH and LH rhythms individually. Thanks for sharing this. I will definitely use it!
Hi Angie, I’m so glad you found something useful! -Lauren
Most of what you’ve said I do. Great to have that confirmation. However, for several students I will not play the piece to them as they would end up just playing by ear all the time. Yes, they can do this from having the piece played only once!
Ah! I *almost* put a note about playing for the student. I know many teachers do not do that, because the student might play by ear. I don’t have any students with ears like that. Thanks for keeping in touch!
I rarely play the new piece for my students but now I think I’ll try this tip!!! Also, should I ask the student if they want me to play the piece once for them, or just tell them I’m going to play it?
Hi Emily, I think it’s fine to do either, and it might depend on their age. Younger students will enjoy just hearing it while an older beginner might prefer to be asked first.
Nice post!