This post may contain affiliate links. As a Sheet Music Plus and Amazon Associate, I earn from qualifying purchases. That means I make a small commission (at no additional cost to you) if you purchase something from an affiliate link.
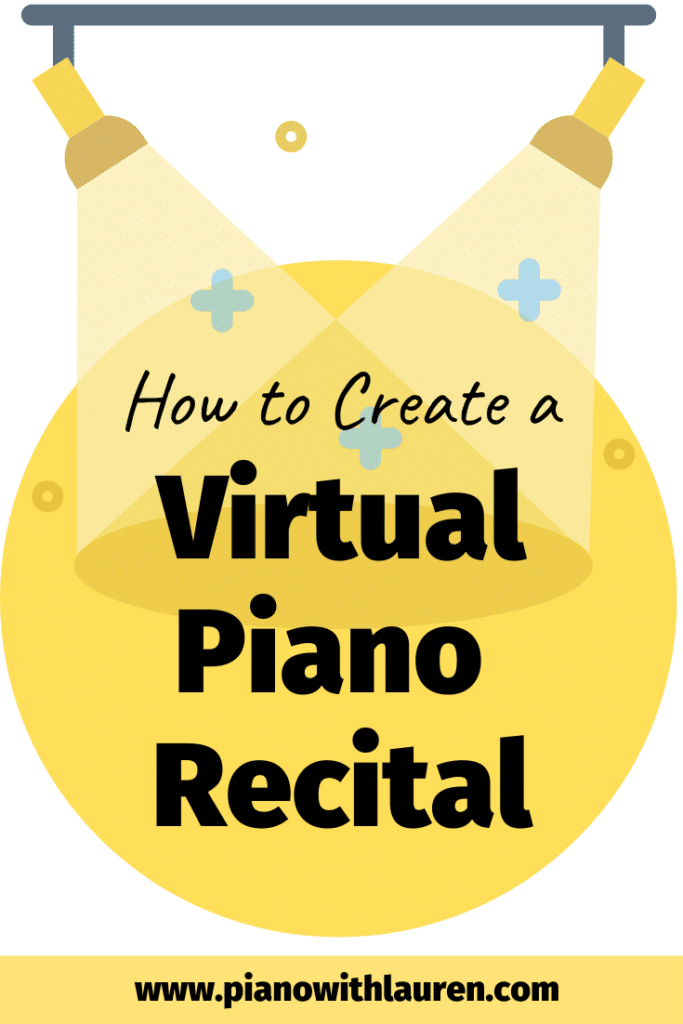
In situations where a live piano recital is not possible for your piano studio, you may find that a virtual piano recital is a good option for you.
For my 2020 piano recital, I chose to create a virtual piano recital on YouTube. It is something that I’ve been wanting to for a few years after making my holiday audio playlist of students a few years ago.
If you choose to create a video playlist for your virtual recital, you will have something to enjoy for many years to come! Read more about how you can create a virtual piano recital playlist on YouTube.
To create my virtual recital playlist on YouTube, I used iMovie to edit the videos before uploading to YouTube. I really wanted to add an opening slide that included the student’s name and piece for each video. It took some time to do this, but I felt like it added a nice touch to the playlist.
To create your virtual recital playlist, follow these tips:
- Ask parents to video students at home playing their music. If parents can hold the camera in landscape (horizontal) view, it makes for a nice video.
- Parents can then share the video to you using email (if the video is not too big), Dropbox, or Google Drive. I had the most success with getting videos through Google Drive. Parents uploaded their videos to their own Google Drive and shared the videos with me. I was then able to download the videos in high quality.
- Apple users will find that a lot of simple video editing can be done using iMovie (free software on Apple devices).
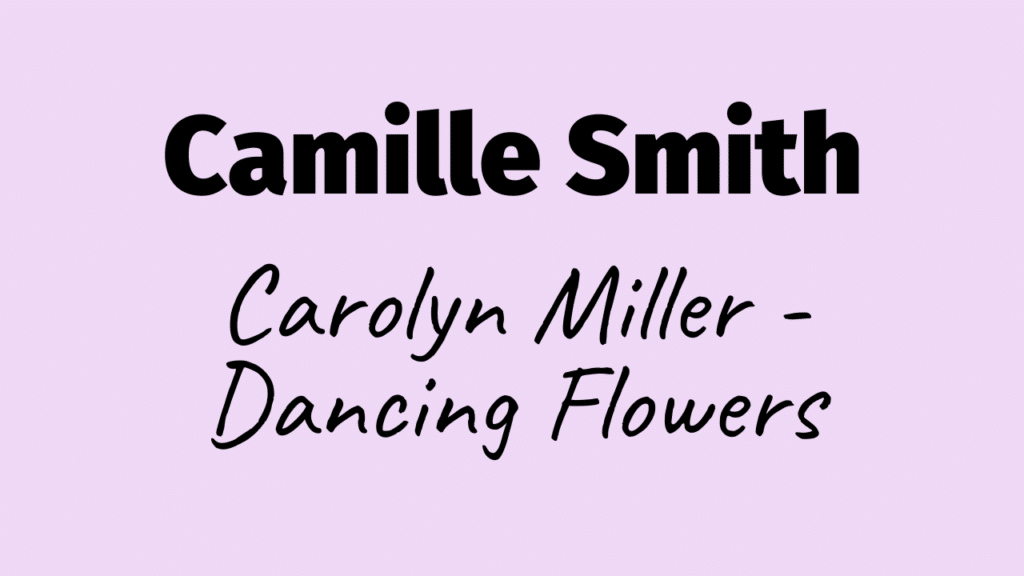
- Before editing the video, I created a slide of the student’s name and piece using Canva. You can also do this with any other slideshow software of your choice. On this slide, you can put any information that you’d like. If you want to document more information like the student’s age or how many years he/she has been playing piano, you can do so here’
Canva is a free program. If you use Canva to make your slide, select “YouTube Thumbnail” under “Create Your Design.” This slide will be sized perfectly for YouTube. As you can see, I kept the design of this slide very simple. The point of it is to showcase the student’s name and any other information you’d like to include.
- In iMovie, you can select “+” to create a new project. Select “movie.” Then add your slide image and video to the project. You can then edit the length of time that the image will show before the video. You can also edit the length of the video.
If any parent sends you a video as a file type that needs to be converted, you can also download a free app such as “Mov to mp4” or “Media Convert” to convert it.
In iMovie, you can put several videos together, add titles to the videos, and even add an applause sound effect. I highly recommend using it as it offers the simple features you’ll need for video editing. - Once you complete your project in iMovie, you can upload it to YouTube.
- When the video is on your YouTube account, you can add it to a new playlist. I named my playlist “2020 Virtual Recital.”
It’s important to note that you can edit the privacy settings of your YouTube playlist. It can be public (open to everyone), private (only you can see), or unlisted (only accessible with a direct link). I chose for my playlist to be “unlisted.” I am a stickler for protecting the privacy of children, so I only wanted my students’ families to be able to share it amongst themselves.
If you still long for the live aspect of a piano recital, another option is to create the YouTube playlist and play it for families over a live Zoom meeting. You can read more about having group meetings on Zoom here.
If you take the time to make this Youtube playlist, you will have something to enjoy for many years to come!

Lauren teaches piano to students of all ages. She enjoys creating resources for her students and teachers. She is the author of Ready for Theory®. For personalized help, check out the consultations page for teachers.