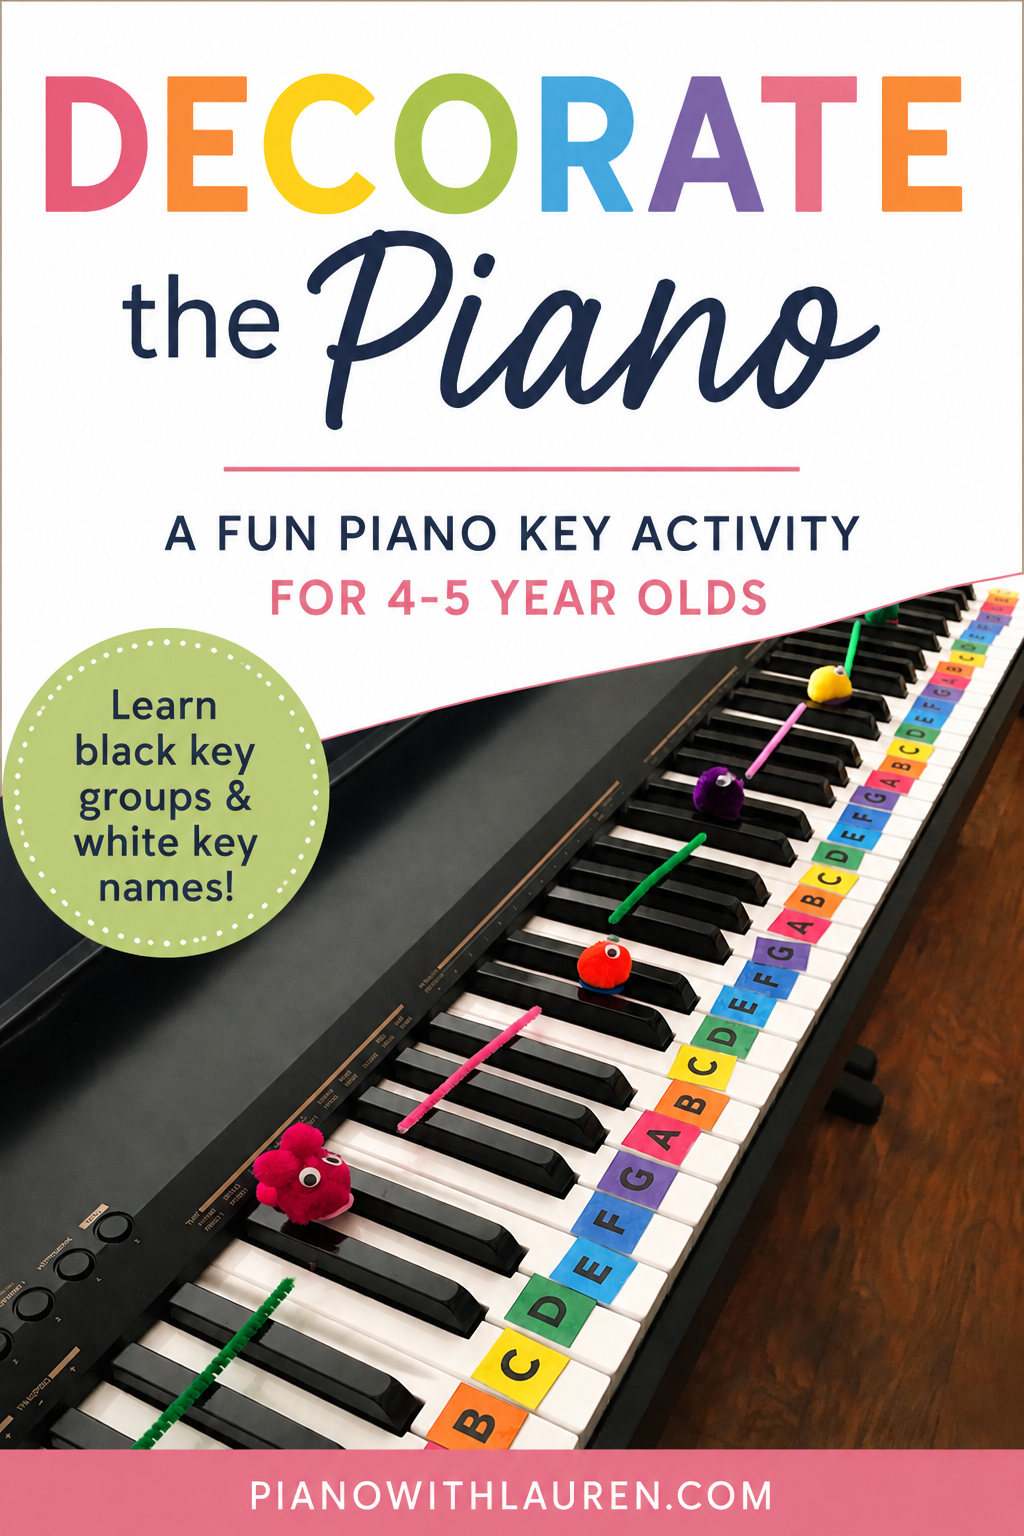
When teaching piano to young beginners (ages 4-5), you can make the lessons feel playful and engaging by adding in fun activities. One of my favorite activities for introducing piano keys to preschool and kindergarten students is “Decorate the Piano.” I first learned of this activity from the creators of Piano Safari. This simple activity helps students learn black key groups and white key names while turning the keyboard into a game.
If you’re teaching young beginners, be sure to also read my main guide: Piano Lessons for 4-5 Year Olds: What Beginners Need to Learn
Why Young Beginners Love This Activity
Four and five-year-old piano students learn best when they can move, touch, and explore. “Decorate the Piano” transforms learning the keyboard into a visual and tactile experience. Instead of simply pointing to keys, students actively place objects on the piano while learning keyboard geography.
This activity works especially well in:
- Private piano lessons
- Preschool piano classes
- Small group lessons
- Piano camps
- Parent-child piano classes
This post may contain affiliate links. As a Sheet Music Plus and Amazon Associate, I earn from qualifying purchases. That means I make a small commission (at no additional cost to you) if you purchase something from an affiliate link.
Materials Needed
You only need a few simple supplies:
- Small items like pom poms or animal erasers (My students love these.)
- Slightly longer item like pipe cleaners
- Printable small alphabet cards
- Optional: Small foam squares
I keep all of these materials in small pouches labeled “Decorate the Piano” in my studio. It makes setup quick and easy during lessons.
✶ How to Decorate the Piano
Decorating the piano does not need to be done all at once. For example, you may work on only the different groups of black keys in one lesson. A different day, you may work on the 2 black keys and just the white key C. After two months of lessons, your student may be able to decorate the whole piano. Be sure to break this activity up into small steps when working with this young beginner age group (ages 4-5).
You can use this as an activity to give students a break from sitting at the piano at anytime during the lesson. Sometimes these young students just need to stand up and move.
Step 1: Find the Group of 2 Black Keys
Before introducing white key names, I like students to become comfortable finding the groups of black keys across the piano.
Have students use a small object like:
- A pom pom (Some teachers add googly eyes to the pom poms to make it even more fun.)
- Small animal eraser
Students place the object on every group of 2 black keys they can find on the keyboard.
This helps students visually recognize the repeating keyboard pattern.
Step 2: Find the Group of 3 Black Keys
Next, students locate the groups of 3 black keys.
For this step, use a longer object such as:
- A crayon
- Pipe cleaner
Fidget worm
The longer object helps students clearly see the entire group of 3 black keys together.
Young beginners quickly start noticing that the keyboard is made up of repeating patterns.
Step 3: Learn the White Key C
Once students can confidently find the groups of 2 black keys, they are ready to locate C.
Teach students:
“C is the white key to the left of the 2 black keys.”
I like using small printable alphabet cards for this activity. To keep the cards from slipping between the keys, I recommend attaching them to something thicker like small foam squares. Another option is that you can also simply cut tiny foam squares and write the letter names on them with a Sharpie.
Students place the C cards on every C on the piano.
Step 4: Learn the White Key F
After learning C, students can find F on the piano.
Teach students:
“F is the white key to the left of the 3 black keys.”
Have students place their F cards on every F across the keyboard.
At this point, students are already beginning to understand how the black key groups help us organize the piano.
Step 5: Fill in C–D–E
Now students can complete the white keys around the group of 2 black keys.
Help students place:
- C
- D
- E
cards across the keyboard.
This is a wonderful time to reinforce the musical alphabet in order.
Step 6: Fill in F–G–A–B
Finally, students fill in:
- F
- G
- A
- B
around the groups of 3 black keys.
By the end of the activity, the piano is completely “decorated” with letter names, and students have a much stronger understanding of keyboard geography.
Why This Activity Works So Well
Young beginners need repetition, movement, and visuals. “Decorate the Piano” combines all three in a way that feels like play instead of drill work.
Students are:
- Exploring patterns
- Learning keyboard organization
- Reinforcing the musical alphabet
- Building confidence at the piano
It’s also easy to adapt for different learning styles and attention spans.
Final Thoughts
“Decorate the Piano” is one of my favorite activities for introducing keyboard geography to 4-5 year old beginners. It’s simple to prep, easy to store, and students absolutely love it.
If you’re teaching preschool piano students, be sure to check out my full guide here:
Piano Lessons for 4-5 Year Olds: What Beginners Need to Learn
The approach of using hands-on activities and visual learning is especially effective for young beginners.
Related Young Beginner Piano Topics
- Musical Alphabet Games for Piano Students
- Teaching Hands and Finger Numbers in Piano Lessons
- How to Teach Piano Black Keys and White Keys
- Decorate the Piano: A Fun Piano Key Activity
- Teaching Rhythm to Preschool Piano Students
- Beginning Piano Sounds Every 4-5 Year Old Should Learn to Recognize

Lauren teaches piano to students of all ages. She enjoys creating resources for her students and teachers. She is the author of Ready for Theory®. For personalized help, check out the consultations page for teachers.